A wooden deck can look fine from a distance yet feel rough under your feet, with patches that look dull or slightly gray. That’s usually the moment homeowners realize sweeping isn’t enough anymore. You need to properly wash a deck, and in many cases, go further—removing old finish and restoring the wood so it actually lasts through seasons of rain, sun, and daily use.
This guide walks you through the entire process step by step, from cleaning to fully restoring your deck surface, in a way that’s practical and beginner-friendly.
Table of Contents
ToggleWhy Deck Cleaning And Maintenance Matters
Wood is durable, but it’s not maintenance-free. Exposure to sunlight, moisture, dirt, and foot traffic slowly breaks down its surface.
Here’s what happens if you ignore it:
- Dirt and mildew trap moisture, leading to rot
- UV rays fade color and weaken fibers
- Old stain peels, leaving uneven protection
- Small cracks expand over time
Regular maintenance doesn’t just improve appearance. It extends the life of your deck by several years.
Quick insight: A well-maintained deck can last 15–20 years, while a neglected one may need replacement in under 10.
When You Should Wash A Deck
You don’t need a strict schedule—your deck will show you when it needs attention.
Common signs include:
- Gray or faded wood surface
- Green or black spots (mildew or algae)
- Rough texture underfoot
- Water no longer beads on the surface
- Dirt that doesn’t rinse off easily
Simple water test
Pour water on the deck:
- If it soaks in quickly → wood is unprotected
- If it beads up → stain is still working
If water absorbs within seconds, it’s time to clean and possibly restore.
Tools And Materials You’ll Need
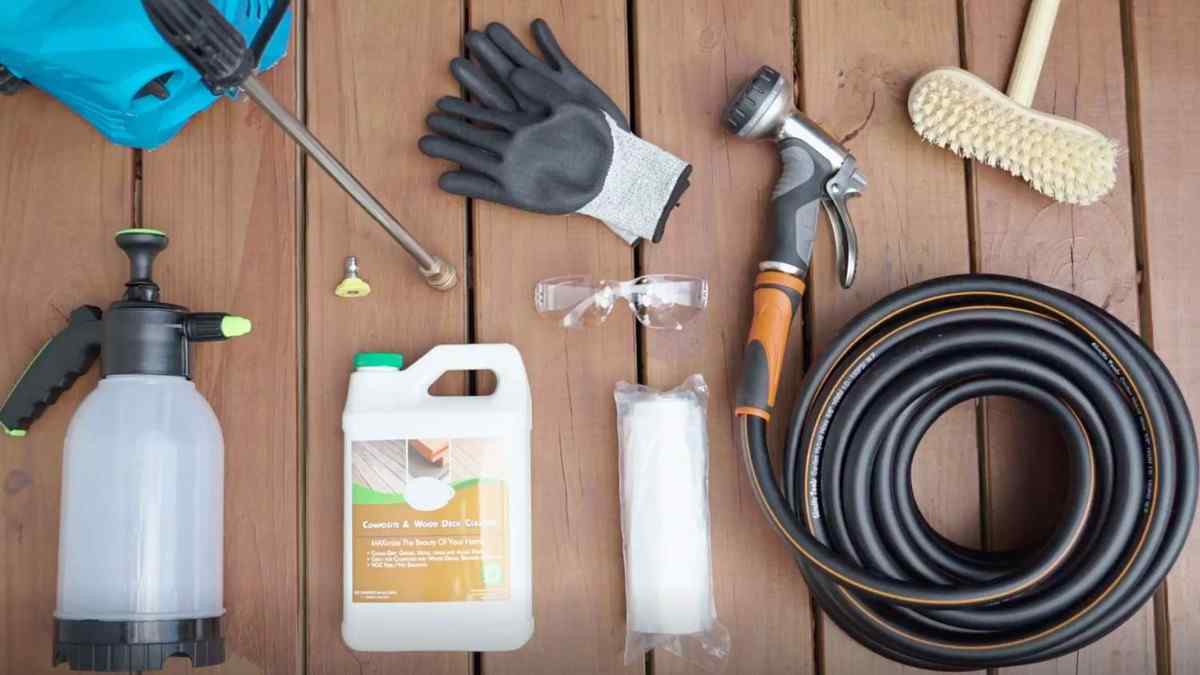
Before you start, gather everything in one place. This avoids stopping mid-process.
Basic tools:
- Garden hose or pressure washer
- Deck brush (stiff bristles)
- Pump sprayer
- Safety gloves and goggles
- Sandpaper or orbital sander
Cleaning supplies:
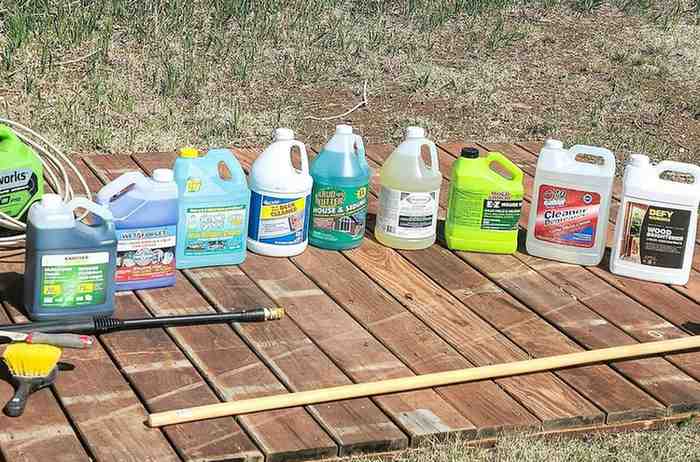
- Deck cleaner or oxygen bleach
- Wood brightener (optional but helpful)
For restoration:
- Paint scraper
- Wood stain (oil-based or water-based)
- Applicator (roller, brush, or pad)
Tip: Renting a pressure washer costs around $40–$70 per day, which is often cheaper than buying one.
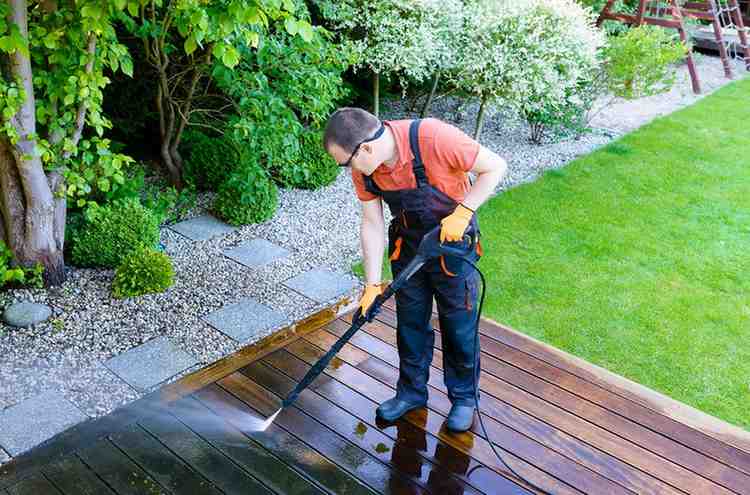
Step-By-Step: How To Wash A Deck Properly
Cleaning is the foundation. If you skip or rush this step, everything that follows won’t last.
Step 1: Clear the surface
Remove:
- Furniture
- Planters
- Debris
Sweep thoroughly to get rid of loose dirt.
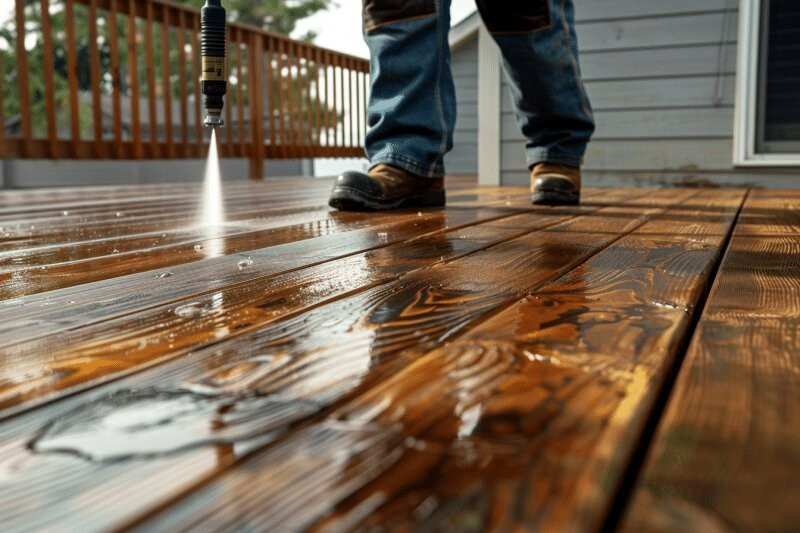
Step 2: Pre-rinse the deck
Use a hose or low-pressure spray to wet the surface. This prevents the cleaner from soaking in too quickly.
Step 3: Apply cleaning solution
Use a deck cleaner designed for wood.
- Apply evenly with a sprayer
- Let it sit for 10–15 minutes
- Do not let it dry
Step 4: Scrub the surface
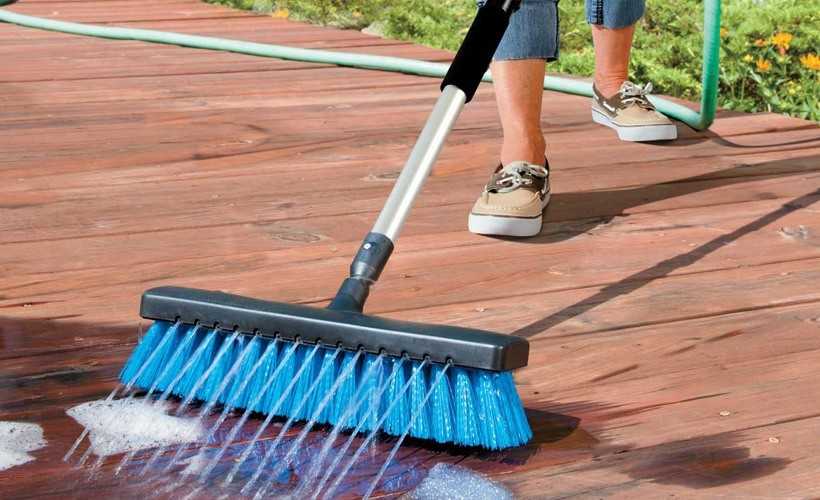
Use a stiff brush to scrub along the grain.
Focus on:
- High-traffic areas
- Mold spots
- Stained sections
Step 5: Rinse thoroughly
This is where many people make mistakes.
- Rinse until the water runs clear
- Avoid leaving residue
- Work in sections
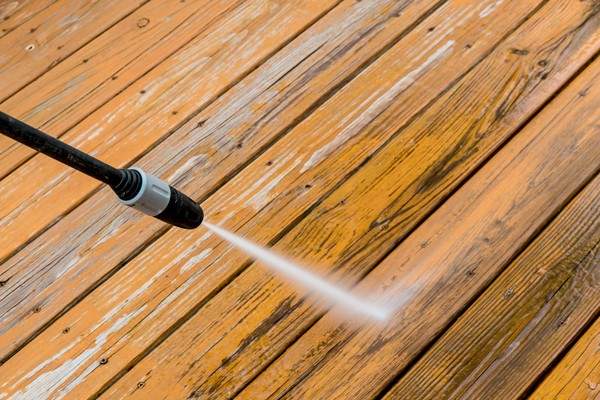
Pressure washing vs manual cleaning
Pressure washing
- Faster
- Good for large decks
- Risk of damaging wood if the pressure is too high
Manual cleaning
- Safer for older decks
- Better control
- Takes more time
Recommended approach:
Use a pressure washer under 1500 PSI or stick to manual cleaning if unsure.
What It Means To Strip And Stain A Deck
Cleaning removes dirt. It does not remove old finishes.
That’s where the next step comes in.
When you strip and stain a deck, you:
- Remove old stain or sealant
- Smooth the wood surface
- Apply a new protective layer
When stripping is necessary:
- The old stain is peeling or flaking
- Surface looks patchy
- You want to change the stain color
If your deck still has a strong, even finish, you might skip stripping and just clean and recoat.
Step-by-Step: How To Strip And Stain A Deck
This process takes more time but delivers the biggest visual and structural improvement.
Removing old finish
Apply a deck stripper:
- Spread evenly across the surface
- Let it sit as directed (usually 15–30 minutes)
- Scrub stubborn areas
- Rinse thoroughly
You’ll notice the old finish lifting off.
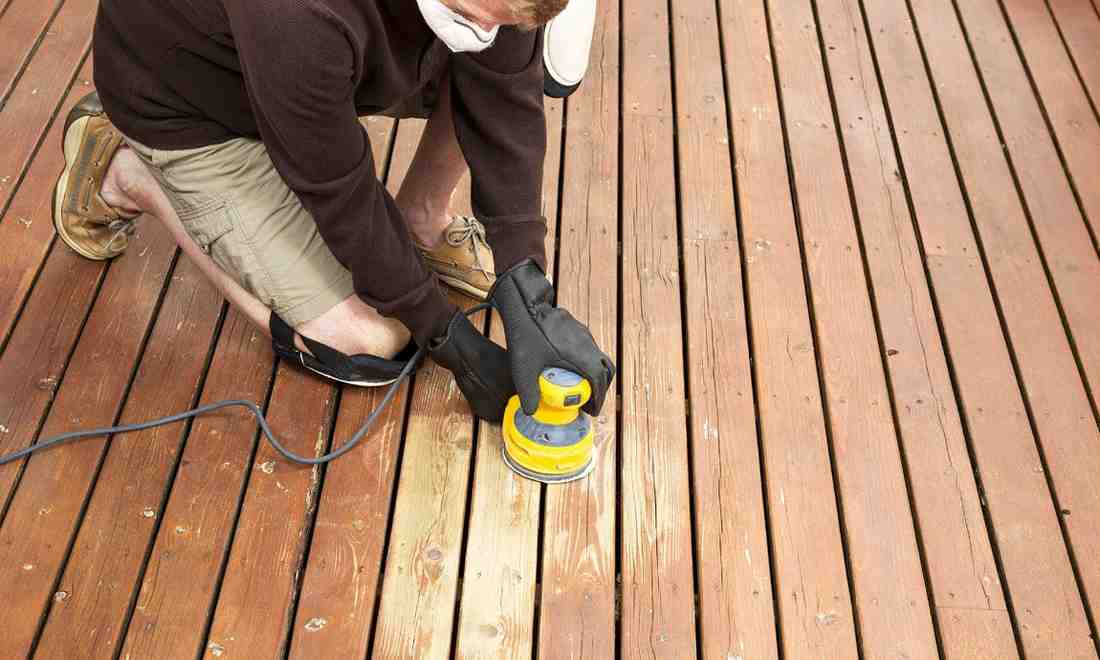
Sanding basics
After drying:
- Use 60–80 grit sandpaper
- Focus on rough spots and splinters
- Smooth out uneven areas
Tip: Sanding isn’t always required, but it improves stain absorption.
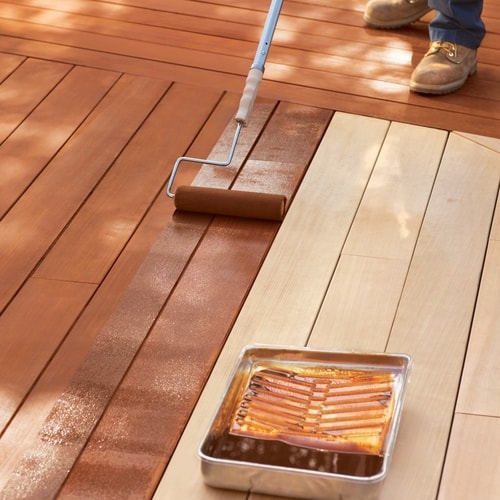
Applying stain correctly
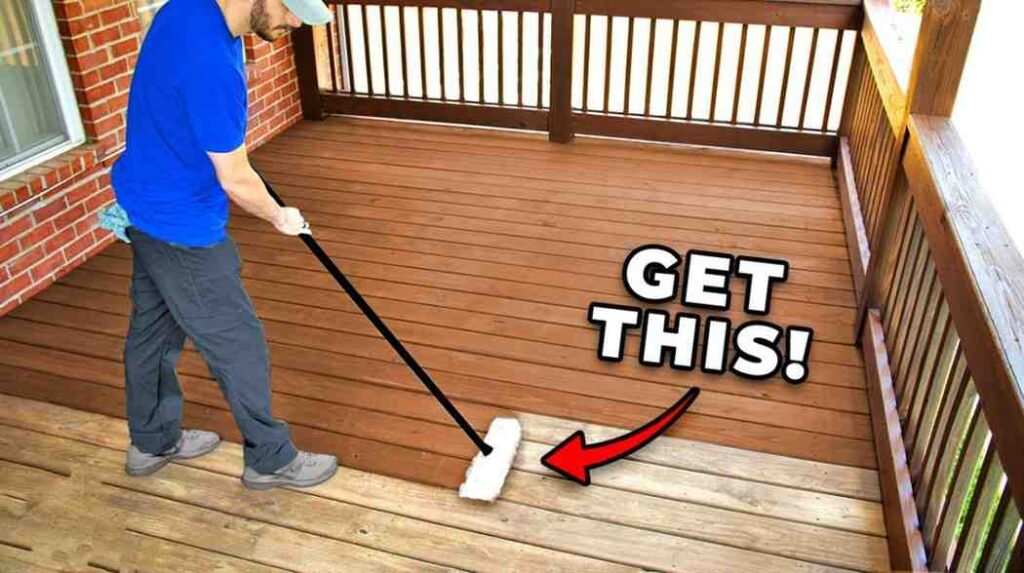
Now comes the transformation.
Choose the right stain:
- Transparent → shows wood grain
- Semi-transparent → balance of color and grain
- Solid → maximum coverage
Application steps:
- Stir the stain well
- Apply with a brush or roller
- Work in small sections
- Follow the wood grain
- Avoid over-application
Let it dry for 24–48 hours before using the deck.
Common Mistakes To Avoid
Even simple projects can go wrong without attention to detail.
Avoid these:
- Using too much pressure (damages wood fibers)
- Skipping drying time before staining
- Applying stain in direct sunlight
- Not cleaning thoroughly before staining
- Using cheap or incorrect products
Small insight: Most failures happen because of poor prep, not bad stain.
How Often Should You Clean And Stain Your Deck
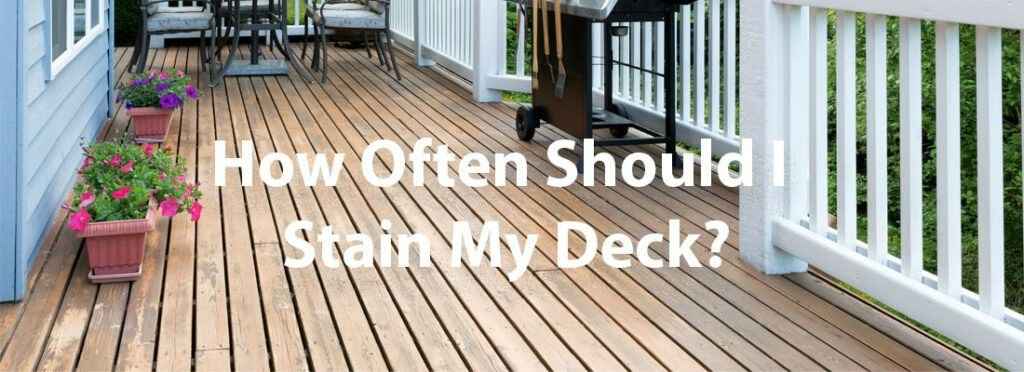
There’s no universal schedule, but general guidelines help.
Cleaning:
- Every 1–2 years
Staining:
- Every 2–3 years (depending on weather and usage)
High exposure areas:
- May need annual touch-ups
If your deck gets heavy sun or rain, expect shorter intervals.
Cost Breakdown (DIY vs Professional)
Understanding cost helps you decide whether to do it yourself or hire someone.
DIY costs
- Cleaner: $20–$50
- Stain: $30–$60 per gallon
- Tools: $50–$150 (if not already owned)
Total: $150–$400 for an average deck
Professional costs
- Cleaning: $150–$400
- Full restoration: $500–$1,500+
Cost depends on:
- Deck size
- Condition
- Location
When hiring makes sense:
- Large decks
- Severe damage
- Limited time
Pro Tips For Longer Deck Life
Small habits make a big difference over time.
Follow these:
- Sweep weekly to prevent buildup
- Move furniture occasionally to avoid uneven wear
- Trim nearby plants for airflow
- Seal exposed edges
- Clean spills immediately
Extra tip:
Place mats in high-traffic areas to reduce wear.
FAQ
Can I wash a deck without a pressure washer?
Yes. A brush and cleaning solution work just as well when you wash a deck. It takes more time but reduces the risk of damaging wood.
How long should I wait before staining after washing?
Wait at least 24–48 hours. The wood must be completely dry for proper stain absorption.
Is deck stripping always necessary?
No. Only do it if the old finish is peeling or uneven. Otherwise, cleaning and re-staining may be enough.
What is the best season to stain a deck?
Late spring or early fall is ideal. Avoid extreme heat or rainy conditions.
How much does it cost to clean and stain a deck?
DIY costs to wash a deck range from $150–$400, while professional services typically cost $500–$1,500 or more, depending on size and condition.
Conclusion
Restoring a deck isn’t complicated, but it requires the right sequence. First, you clean thoroughly. Then you assess whether deeper work is needed. In many cases, taking the time to properly wash a deck and, when necessary, fully restore it with stripping and staining will bring it back to life.
If your deck shows signs of wear, don’t wait until damage spreads. Start with a basic cleaning. If the surface still looks uneven or faded, move forward with deeper restoration.
The key is simple: good preparation leads to lasting results.